Your Mission
Step 1: Listen to Dr. Judy Melinek describe this baffling case from the link above (or read the transcript below):
Here’s the case: A 30-year-old man goes into an emergency room and complains of a headache and neck pain. He is sent home with ibuprofen and told that it is a tension headache. He returns a week later with red eyes (conjunctivitis), continued headache, neck pain and nausea. He dies in the hospital shortly after admission and the case is referred to the medical examiner, because the death is sudden and unexpected. The only significant medical history is that he had been shot in the face as a teenager and is blind in the right eye.
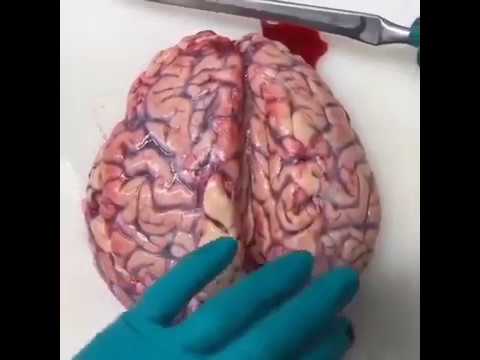
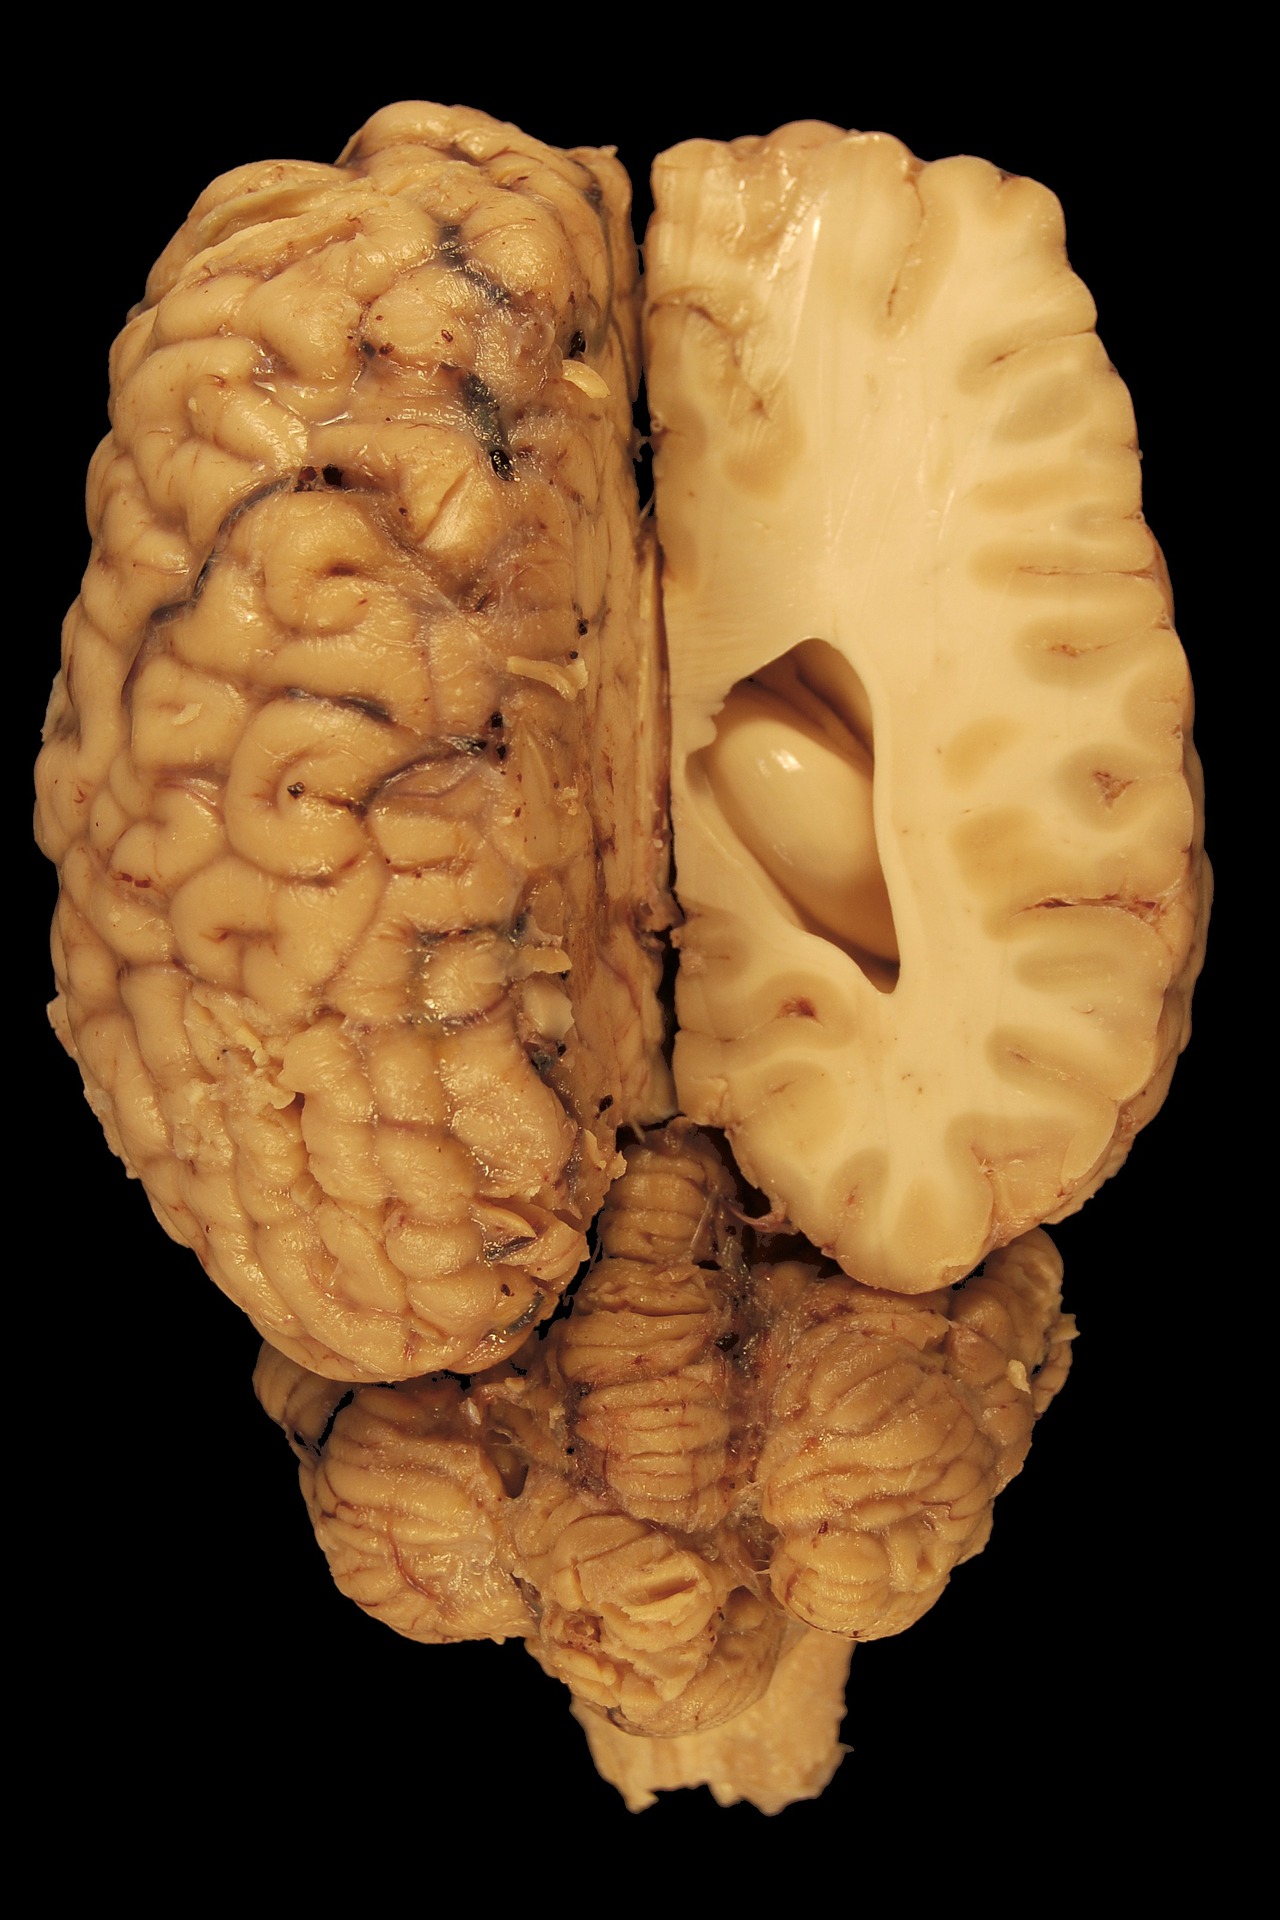
Autopsy findings: meningitis (pus infection of the brain) with Staphylococcus aureus (a bacteria that usually infects wounds), and pus extending to the gunshot wound tract and around the eyes (pink eye).
Source: Medical Mystery: The Pink Eye of Death from ScienceFriday
Additional information: The person who shot the victim 12 years ago was convicted of 1st degree assault and sentenced to mandatory 10 years in jail because a firearm was involved in the altercation. This is a Class B felony under Alabama law.
Step 2: Form your Forensic Investigation Team
Your Mission: It is up to your team to decide if this is a delayed homicide or a natural death and present your findings to the District Attorney to determine if charges will be brought against the person who originally shot the victim.
Your team is responsible for:
a. Developing a theory / hypothesis of what caused this man’s death (either delayed homicide or natural death). You must also provide a rationale (reasons) for your theory.
b. Designing an experiment to test the validity of your hypothesis
c. Evaluating the data from your experimental results
d. Creating a model to illustrate your theory & the results of your experiment
e. Drawing a conclusion that you will present to the District Attorney (in a Google Slides presentation) to determine if charges will be brought against the person who originally shot the victim.

Team Members & Responsibilities:
| Team Member | Job Description | Responsibility |
|---|---|---|
| Lead Forensic Investigator | 1. Oversees project 2. Makes sure team responsibilities are followed & communicates w/teacher 3. Develops theory of cause of death 4. Provides rationale supporting theory for final report | Theory w/Rationale Slides 4 & 7 |
| Medical Examiner | 1. Performs autopsy 2. Researches medical issues associated with findings from autopsy 3. Interprets medical findings from autopsy 4. Provides analysis of medical findings for final report | Medical Examiner’s Report w/Analysis Slide 3 |
| Forensic Lab Technician | 1. Designs experiment 2. Carries out experiment to test theory 3. Helps create model to illustrate theory 4. Summarizes experiment methodology & findings for final report | Experiment Methodology w/Results Slides 2 & 5 |
| Evidence Collection Technician | 1. Records data from experiment 2.Takes careful notes during experiment 3. Creates a model to illustrate theory 4. Summarizes description of model for final report | Notes & Experimental Data w/Model Slides 1 & 6 |
Step 3 Design & Perform an Experiment to Test Your Theory/ Hypothesis
Whatever your theory/ hypothesis (delayed homicide OR natural causes) about how the victim died, your team will need to design some sort of test which will give you scientific evidence (data) to either support or refute your assumption. You will evaluate your results and decide whether your theory is valid (based on the data) or if you need to go back and re-evaluate your original theory.
The Forensic Lab Technician and Evidence Collection Technician are primarily responsible for this part, however, EVERYONE should work as a team to share ideas and decide what kind of testing or experimentation would give you the information you need in order to prove (or disprove) your idea of what happened to this man.
Careful notes should be taken on the results of the testing because they will be included in the evidence which will be presented to the District Attorney.
It is possible that your evidence evaluation could be used in court by the DA if this case comes to trial. Be clear, concise, and explain things simply so that jurors of any background can easily understand the evidence and what it means.
Step 4 Create a Model to Illustrate Your Theory
Since juries (& most people, really) understand things more easily if they can visualize what you are talking about, your group is responsible for creating some kind of model to illustrate your theory of how he died. (Helpful tip- A 3 dimensional model would be an awesome way to represent the brain 🧠) You can use any materials you’d like, even paper or poster board. I have some supplies that I will gladly share with you.

Step 5 Presentation of Findings to the District Attorney
Your team will need to prepare a Google Slides presentation of your theory to present to the District Attorney. Since the evidence that you provide will potentially determine whether or not someone is charged with murder, it is important that your presentation is clear, concise, and persuasive.
Your presentation should include:
Slide #1– Title slide with your team members’ names and their job. (Completed by Evidence Technician)
Slide #2– Summary of the Case (Just the facts) (Completed by Forensic Lab Technician)
Slide #3– Medical Examiner’s Findings (Completed by Medical Examiner)
- State what the autopsy showed. Use clear, understandable language. You must include a graphic/photo that represents the findings. Provide labels in your graphic/ photo so everyone can understand the complicated medical findings.
Slide #4– Your Theory and Rationale (show how the medical findings support your theory) (Completed by Lead Forensic Investigator)
- State your theory. Should charges be brought for delayed murder or was it a natural death? Include the rationale (reasons) for your theory. Connect the medical findings to your theory. “Our theory is….. based on the following findings from the autopsy: 1…2…3…etc” Be exact with your words. Connect the theory and medical reasons clearly so someone from any background can see your reasoning.
Slide #5– Experiment Methodology & Results (Completed by Forensic Lab Technician)
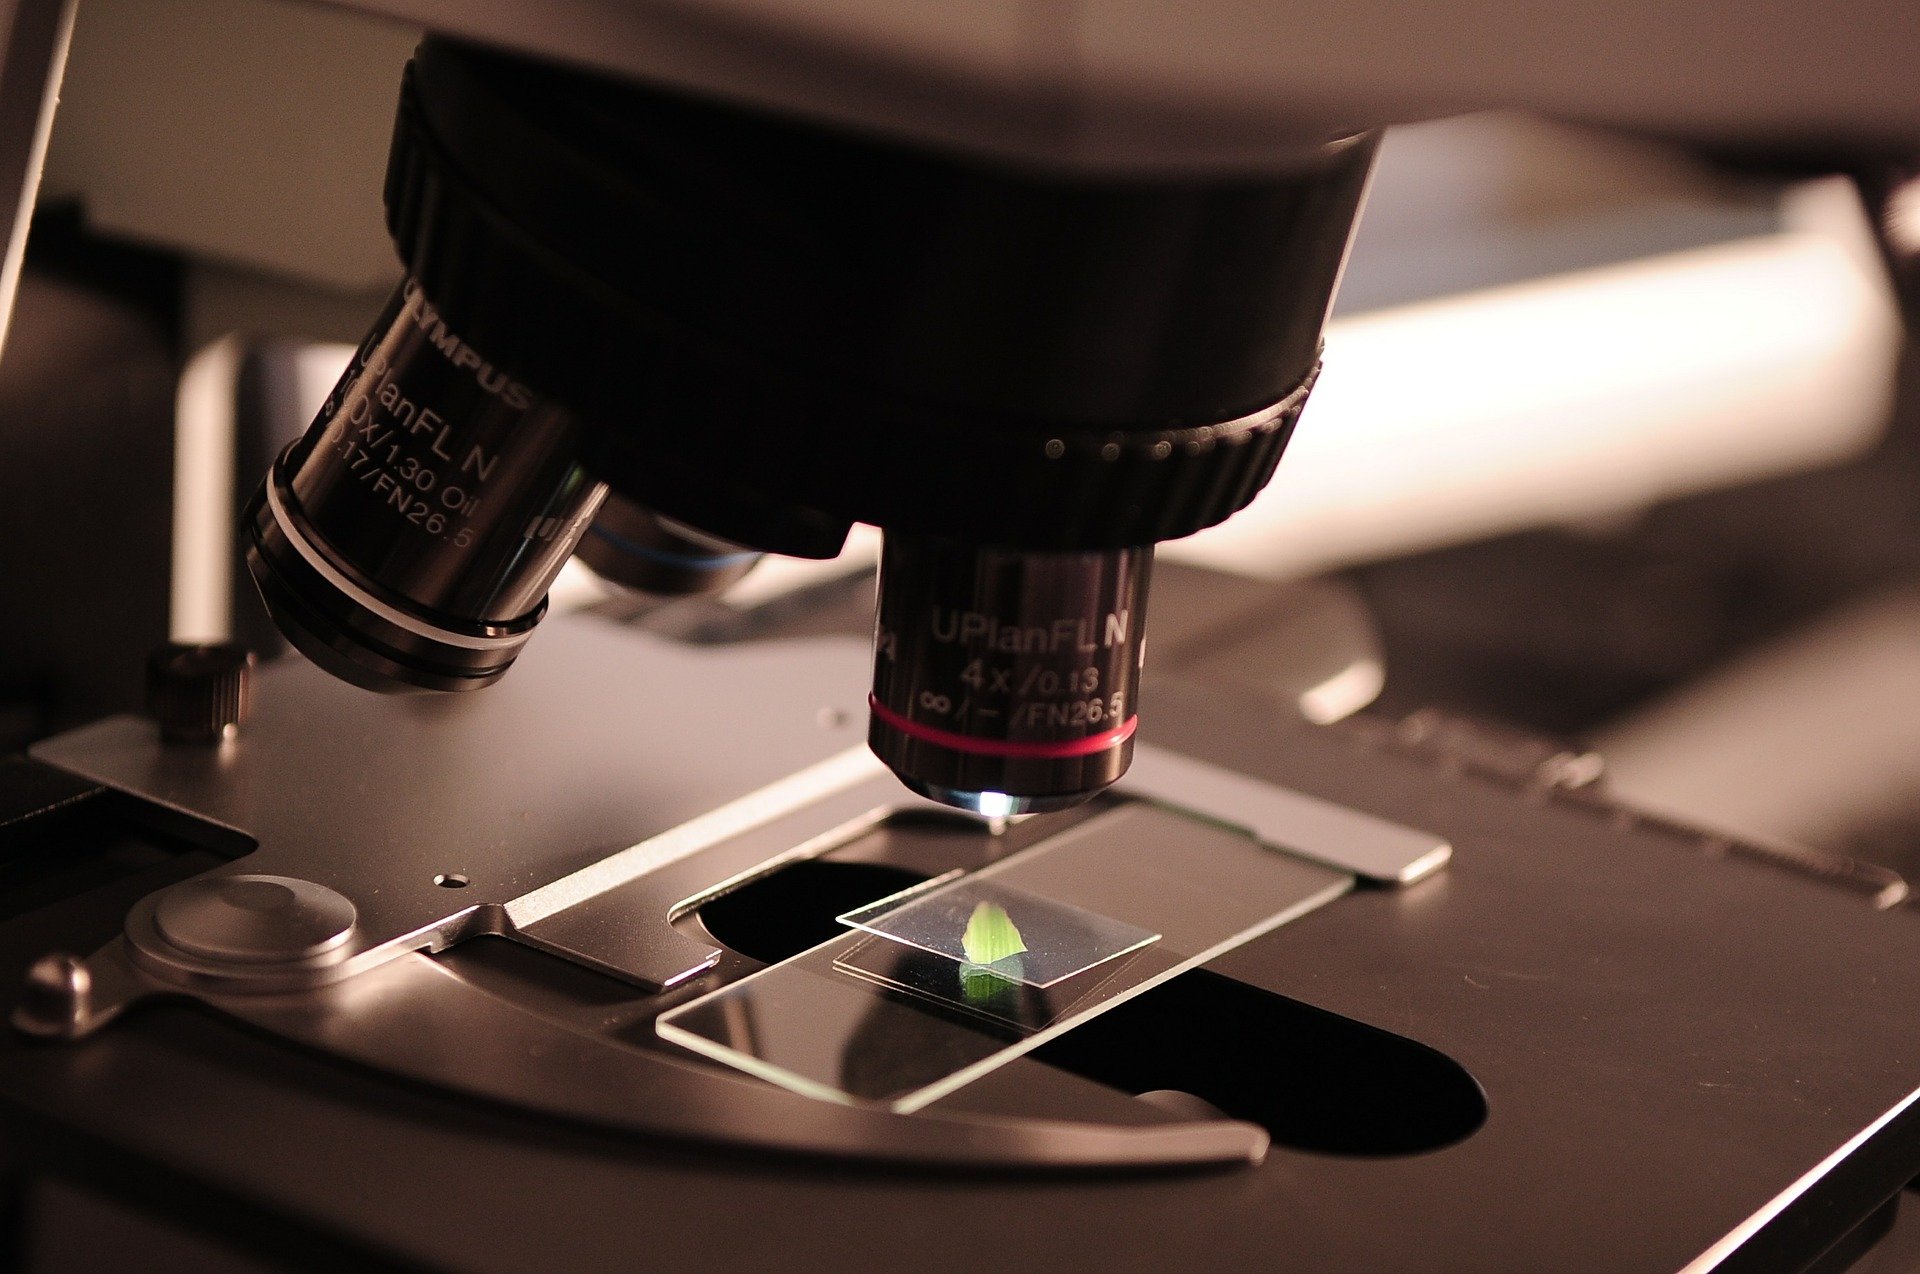
- Explain the experiment you performed on the victim in order to gather data. What did you do? Did you take tissue samples? Perform microscopic examination of samples? Etc. Tell what tests you did AND the results from those tests. Be clear and concise so jurors from all backgrounds could understand if this is used in court.
Slide #6– Description of your model (Completed by Evidence Technician)
- Show a picture/ graphic AND explain the model you made to represent your theory. This would ideally be something that would be shown to jurors as the DA explained the case to them. It would be cool if your model was 3D but it could be a graphic of some sort. Be creative and neat but, above all, make sure it gets the idea across in a simple, clear way! Remember that if this happened to be shown to jurors, they wouldn’t understand the case the way you do. Be clear.
Slide #7– Conclusion/ Recommendation (Completed by Lead Forensic Investigator)
- State the reasons why your theory is supported (or not supported) by the data from your experiment. What does your evidence recommend? Should the DA bring charges or not? Be persuasive in your evaluation of the evidence! Restate the theory, tell how your findings support/ refute this theory, DRAW A CONCLUSION, & make a recommendation to the DA (bring charges or not).
Note to Teachers:
I designed this activity for my Forensic Science students to “practice” skills related to using the scientific method. It is based on an actual case! Every science teacher knows that the scientific method isn’t a clear list of steps, but more of a logical way to approach the solution to a problem. This activity is designed to help students practice this logical approach. I never have my students “list” the steps of the scientific method. In fact, I feel these “steps” are fluid as theories/hypotheses are developed, then discarded or revised as results from tests or challenges demonstrate they aren’t the best fit.
I am doing this activity with my students this week (week before Spring Break so pray for me 😂😂). I only have 5 traditional, in-person students in my classroom (and 23 at home virtual). This will only be done with my in-person kids. I will post this project as a PDF download for those who join my email list here as well as on my website.
Update: I did this activity with my students today and they loved it! It only took us one block (90 min) and they were able to get everything done, including the Google slides part. The AP English teacher came in and played our District Attorney. She had a lot of good questions for them and they really had to be persuasive in their argument to convince her😊 I’ll definitely be using this activity again with my Forensics class next year.
To download a PDF of this activity, please sign up for my email list


This is amazing!!!!!